Have you stumbled on your head searching the ways to Dell Command Update Download for Windows 10, 7, 8, and 8.1? This post will answer all your queries.
Dell is undoubtedly become a global leader in the computer hardware industry. Due to the innovation, customer-centric approach, and dedication, Dell has had a very remarkable journey. Michael Dell is the founder and CEO of this largest PC product Company.
Dell Command Update is a standalone application for client servers released by Dell. It is a software application that updates system software that Dell releases.
This application can also be used to install drivers after the operating system and network drivers are installed on your computers. This application is crucial to keep your system up to date without knowing if any drivers are required to update.
Later, this company expanded into Networking and Storage to become the go-to Company for Commercial Clients.
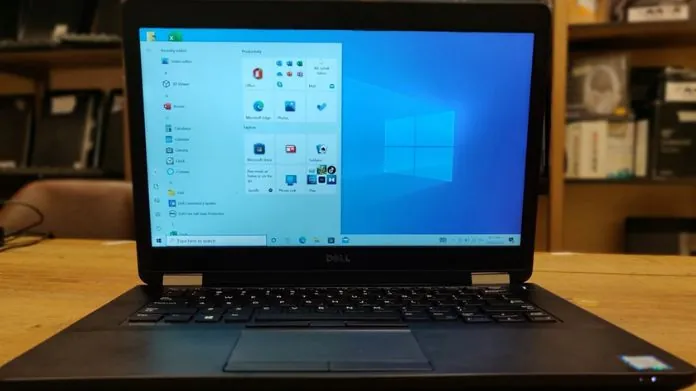
Dell Command Update can be utilized on many Dell Devices, including OptiPlex Series, precision Series, XPS Series, and more. Moreover, it is compatible with many Operating Systems, such as Windows 11/10/8.1/8/7.
This post on TechSpunk will delve into the ways to Dell Command Update Download on various Operating Systems.
So without further ado, lets directly dive into it:
Table of Contents
What is Dell Command Update Application?
 Dell Command Update is a utility program designed for Dell Commercial clients. Their main task is to update the drivers, firmware, and BIOS and simplify the System Software Update experience.
The Dell Command Update program will automatically check the System and compare it to the available updates on Dell Support.
You can pick the best monitor for Mac Mini that is compatible with you with all types of offers, just check our post on it.
How to Dell Command Update Download on Windows 10?
 When you visit the Dell website, you will find various versions of Dell Command Update. Currently, the available versions of Dell Command Update are- 4.5, 4.4, 4.3, 4.2.1, 4.2, 4.1, 4.0, 3.1.3, 3.1.2, 3.1.1, 3.1, 3.0, and 2.4.
Today in this guide, we will show you how to perform Dell Command Update Download on Windows 10.
Before going forward, mouse mover software is one of the virtual products changing how people use PCs. Look into the best mouse mover software.
Note: Before performing Dell Command Update Download, creating a backup of your Computer in advance is recommended.
To create the system backup on Windows 10, follow the steps below:
- First, you must download and install AOMEI Backupper Server on your System.
- After that, click on System Backup under the Backup tab.
- This program will automatically select the system and boot partitions.
- Next, you are required to choose the destination path where you want to save the system backup.
- Click on “Start Backup” to begin the process.
- If you’re going to take a backup of your System at specific intervals, you need to schedule a backup daily, weekly, or monthly.
Steps for Performing Dell Command Update Download on Windows 10:
- First of all, you need to download the software from the link Dell Command | Update.
- When you get the setup.exe file, double-click on it.
- Then click the Install button to Continue.
- To begin the Installation process, accept all the license terms and choose whether to participate in the Improvement program.
- When the Installation Wizard completes, click the Finish button and close the Update Package Window.
How to Use Dell Command Update on Windows 11/10?
 After making Dell Command Update Download, you need to follow these steps:
- After the installation, you will find Dell Command Update Application listed on the All Programs menu
- Double-click Dell Command Update to open it.
- Now, select the default Settings and click on the OK button.
- Next, you are required to click on the Check button. This step will help the DCU determine if any updates are needed for the Computer.
- Depending upon the current state of your Computer, it will provide a list of updates required. Click on Recommended Updates and tap on Automatically Restart Computer.
- After that, click on the Install button.
- When all the updates get installed, tap on the close button.
- That’s it! Your Computer is now up to date.
How to Dell Command Update Download on Windows 8 and 7?
Dell Command Update 4.0 is compatible and available to download on Windows 8 and 7.
Here is a guide on how to download Dell Command Update 4.0:
- First, open your device’s web browser and visit Dell’s Official website.
- From the Navigation menu, tap on the Support option.
- After that, click on Drivers and Downloads from the drop-down menu.
- After that, you need to enter your Dell Computer Service tag.
- Select your Product’s model manually from the options available.
- After this, Dell’s website will automatically detect your Computer’s Operating System.
- Now, scroll down the list of drivers until you get Dell Command Update.
- Click on the Download button next to it to start the Download Process.
- When the download process gets completed, double-tap on it to begin the Installation process.
- After installation, you can run Dell Command Update to check for or install the latest drivers on your Dell Computers.
How Can I Check Which Updates Have Been Installed to Date?
To confirm which updates have been installed to date, you need to follow these steps:
- First of all, open the Dell Command Update Application.
- From the app’s main screen, click on the Update History icon.
- It will show you a complete report of all the Updates installed on your Computer.
Takeaway!!
Dell Command Update is a crucial application that will free you from worrying about updating drivers.
Downloading the software directly from Dell’s Official website is recommended to avoid any potential security risks.
That’s the complete rundown of Dell Command Update Download on Windows 11/10/8.1/8 and 7. Thanks for reading!!


